Thunderbird
This documentation is for users and administrators, not those wanting to install.
Thunderbird isn’t clunky anymore. Lots of investment is going into this great email, calendar, contacts, and more desktop client.
You can download Thunderbird from their website.
The steps for configuring Thunderbird are practically the same for the major desktop platforms. Use the standard installation options and allow Thunderbird to be your default mail application.
You’ll be asked to enter your Federated Core email address. Thunderbird should auto-configure your settings, but if you need to manually set them up, here is the needed information:
IMAP
Server: mail.domain.com (where “domain.com” is your domain name. Example: mail.federated.com.) Port: 993 Security: SSL/TLS
SMTP
Server: mail.domain.com (where “domain.com” is your domain name. Example: mail.federated.com.) Port: 465 Security: SSL/TLS
Click “Finish” and you’re ready to send/receive email.
Contacts
In order to connect Thunderbird to the addresses kept in your Nextcloud application, select the small address book icon in the upper right of Thunderbird to select the “Address Book” mode.

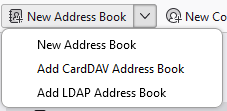
Then select the drop down to the right and select “Add CardDAV Address Book”.
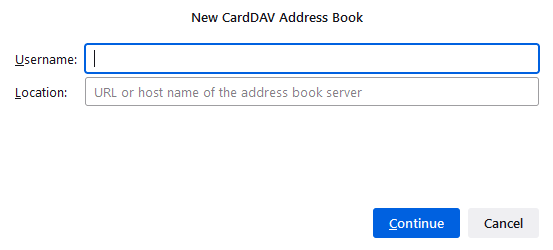
The put in your username (email) for your Federated Core into the “New CardDAV Address Book” dialog box.
You need to get the link for the “Location” line. This can be found in Nextcloud. Open a browser, enter the nextcloud.domain.com address for your Federated Core where “domain.com” is your particular domain name, navigate to the Contacts application, and then Contacts Settings in the lower left of the window. You’ll see a window like this:
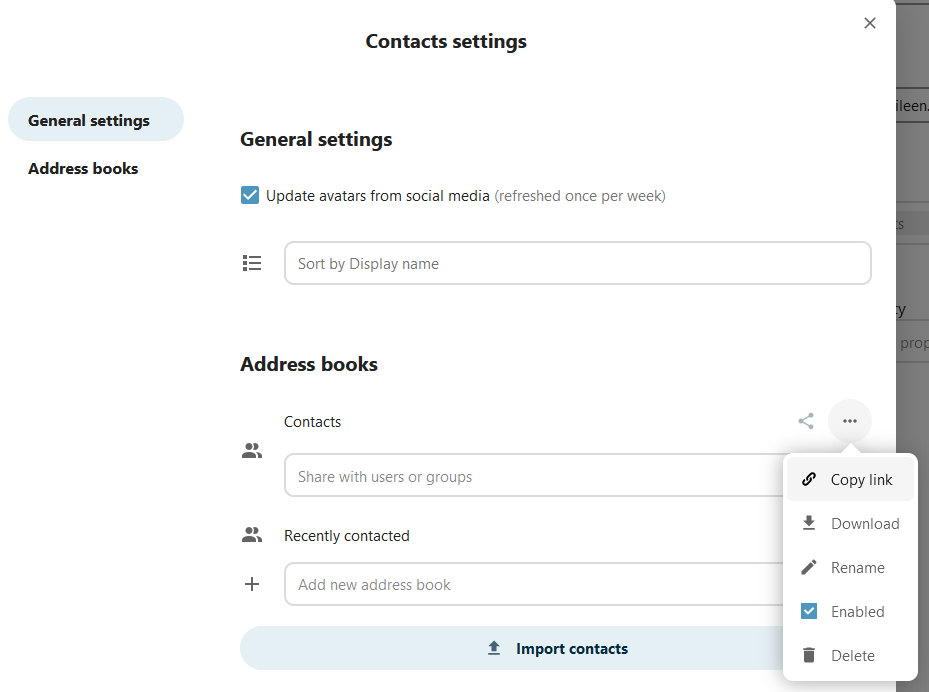
You click on the three dots in the “Address books” section to see a drop down menu. Select “Copy link”. That is the link address we need for the “Location” in the prior dialog box in Thunderbird. You can switch back to Thunderbird and paste the link into the “Location” section of the dialog box then click “Continue”.
Now Thunderbird will ask you to authenticate to your Nextcloud application.
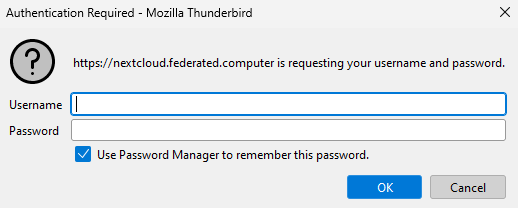
Enter your username (email address for Federated Core) and password. Click “OK” and you should have your Address Book from Nextcloud now connected to Thunderbird.
Calendars
These instructions work for any Calendar in your Nextcloud application. You can have Calendars for yourself/personal, decks, task lists, etc.
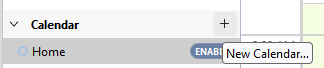
We will be adding a CalDAV calendar to Thunderbird. First switch to the Calendar mode in Thunderbird by clicking the calendar icon along the right side of the Thunderbird application.

You then click the “+” symbol so that we can add/subscribe to a calendar from Nextcloud.
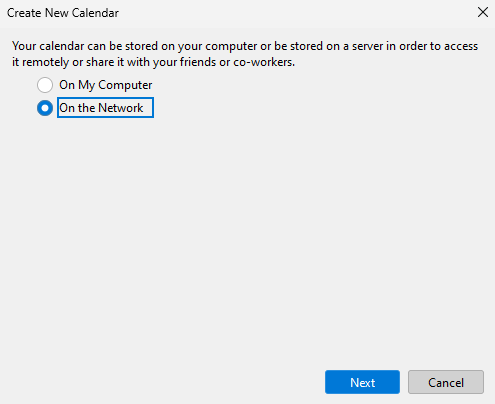
We choose from the next dialog box to subscribe to a “On the Network” calendar and click “Next”.
Now we put in our username (email address).
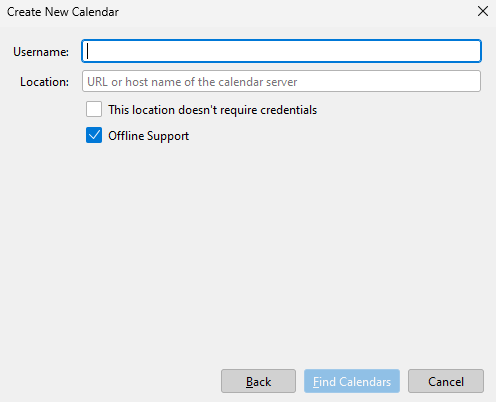
In order to find the “Location” we need to switch to our Nextcloud application and navigate to the “Calendar” app.

You select the calendar you want to subscribe to by clicking on the “edit” function. Another dialogue box is presented:
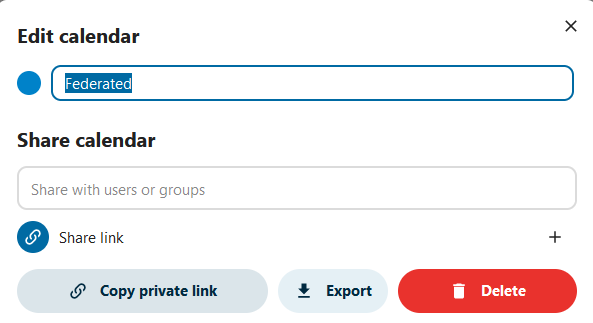
Click on the “Copy private link” buttton to copy the desired “Location” to the clipboard. Now we can go back to Thunderbird and paste the link into the “Location” box and click “Find Calendars”.
When Thunderbird finds the calendar, it will ask us for our password for Nextcloud.
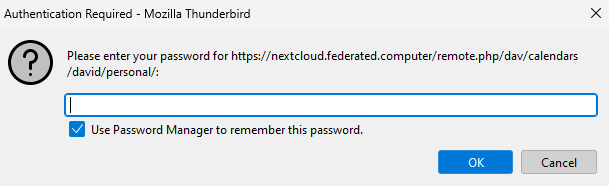
Enter your password and then click “OK”. Now we are asked to subscribe to the calendar.
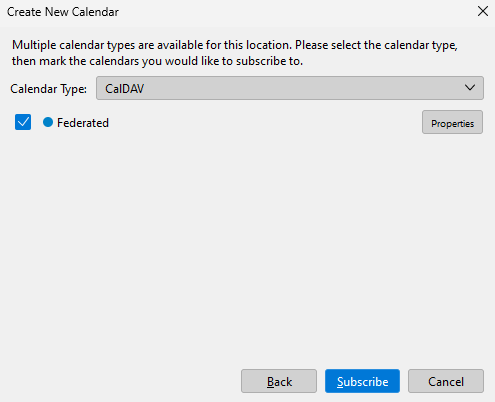
Leave the “Calendar Type” as “CalDAV” and click “Subscribe”. Your calendar is now available in Thunderbird.