Wireguard
This documentation is for users and administrators, not those wanting to install.
Note: you will need to ask your administrator for your configuration file to complete these steps. It should come as a file with the format of “name.conf”.
You will need to download the appropriate version of Wireguard for your system. You can find the installation links at this URL.
Configuration for Windows and MacOS
Once you have downloaded and installed Wireguard, start it up. You should see a window similar to the following.
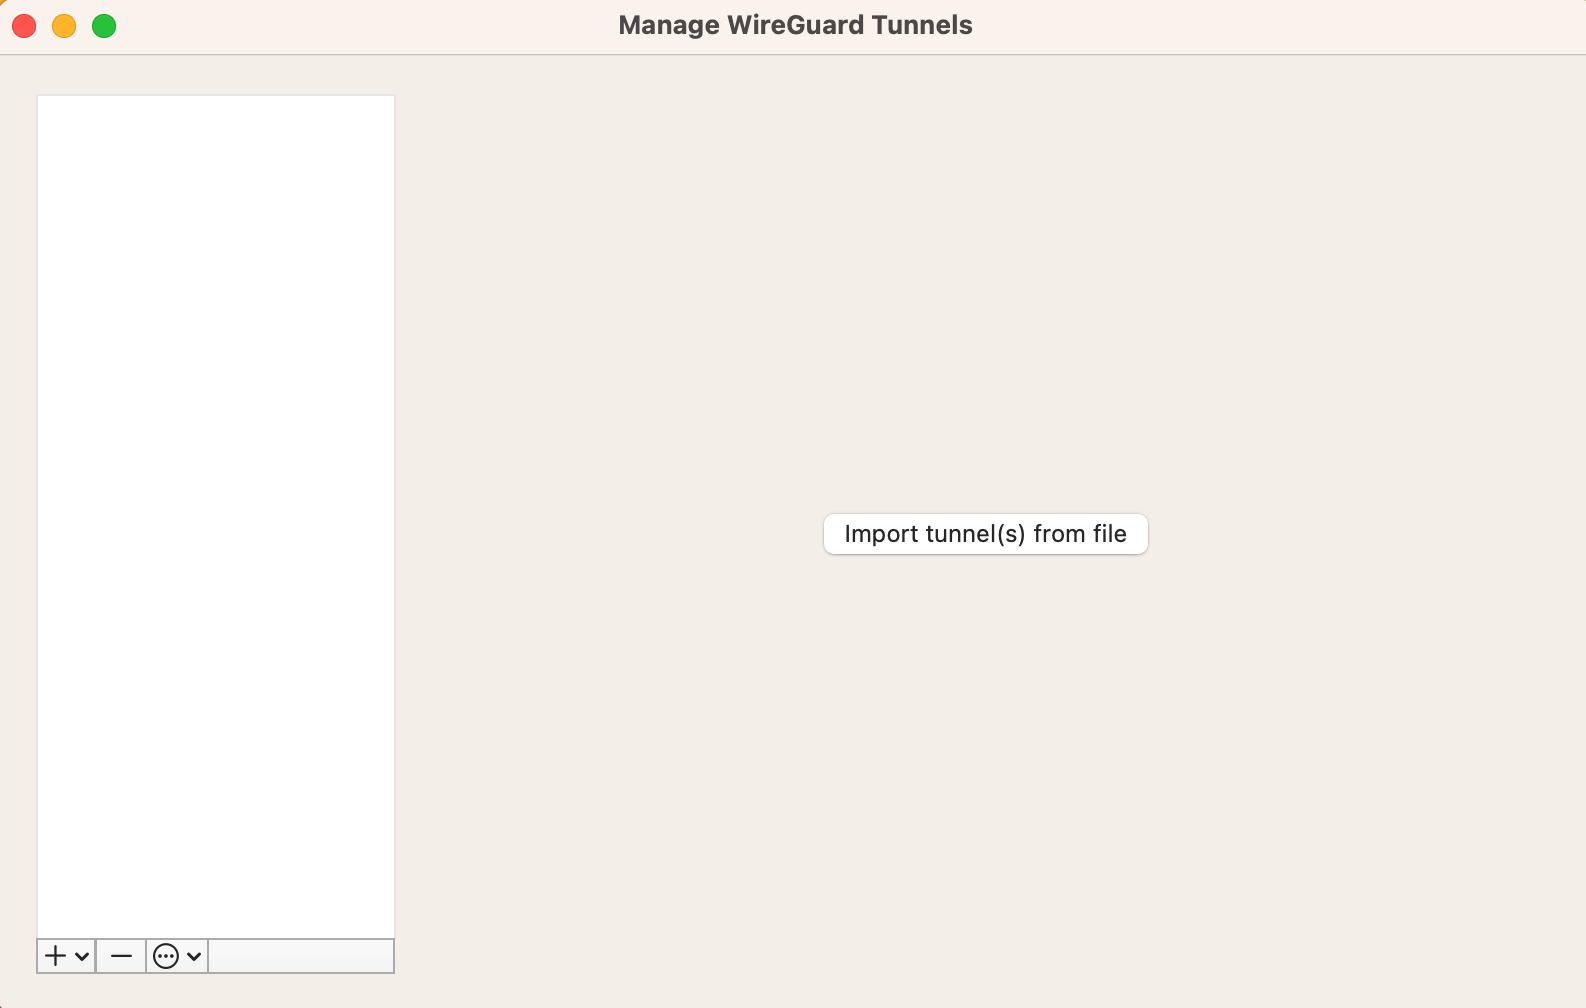
Click the “+” (Macintosh) or “Add Tunnel” in the bottom left or the button “Import tunnel(s) from file”.
On the Macintosh, you may see the following warning:
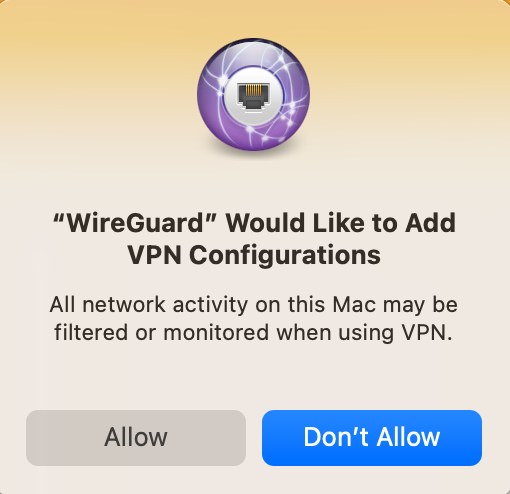
Click “Allow”. Now you can click the “Activate” button to connect to your Federated Core VPN.

You are connected to your Federated Core and all internet traffic will be tunnelled through the Federated Core.
Configuration for Ubuntu-based Linux
Install Wireguard using the following command:
sudo apt install wireguard
Using the configuration file from your administrator, you can use the command line tools from Wireguard to connect to your Federated Core VPN.